Joan's web log
In 2019 I continued to explore the space of VR painting. (previously: Turning real scenes into VR paintings). This is a summary of my efforts at mixing procedural content with handcrafted painting and frame by frame animation in Quill, and developing software tools to help in the process.
VR Concept art
The previous experiment of converting point clouds of real scenes into VR painting was promising but felt rather limiting from an artistic point of view. Not to mention that properly capturing real scenes requires huge amounts of resources. I wanted to leverage the original code but definitely needed more freedom and less friction in the creation process.
One last flare
It sounds silly but I hope in the future we have some sort of distributed lucid dream technology where we can go straight from thinking/designing an experience to making it available to others. Until this is realized we need to go through several layers of translation, many of which are limited by skills rather than imagination. At this point in time though, creating a walkable, living scene by spatially painting it might be as close as we can get from this ideal. Other media are either less immersive, more complex to setup, or further removed from the raw concepts we want to convey.
VR has this incredibly nice property that we can focus on the content of the scene without worrying about perspective or framing. Even for flat outputs, we can create a scene once and capture the essence of it from multiple angles.
Lunch break - camera 1
Lunch break - camera 2
One big drawback however is what I call the Fear of the Volumetric Canvas. If starting a drawing in front of a blank page gives you anxiety as a creator, wait until you are inside an infinite world of nothingness you need to fill in. It’s daunting.
Procedural environments
In order to break the blank canvas problem, and to leverage the point-cloud-to-paint-strokes code I worked on previously, I started to look into procedural environments. The idea was to generate a piece of an imaginary world and somehow plug it in the existing pipeline as if it was a real scene captured with photogrammetry.
World machine
I use World Machine to generate terrains for outdoor scenes. The free version can export 512×512 px maps. World Machine is a great application with a lot of flexibility and built-in tools to create nice and diverse terrains. The following shows a typical node graph I use.
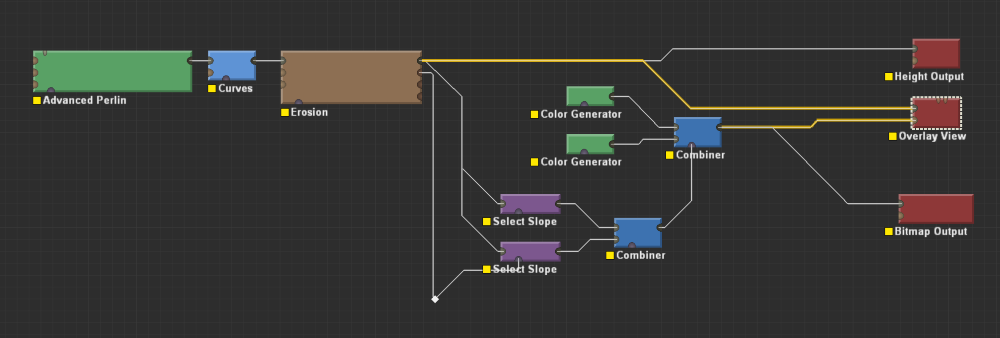
World Machine node graph
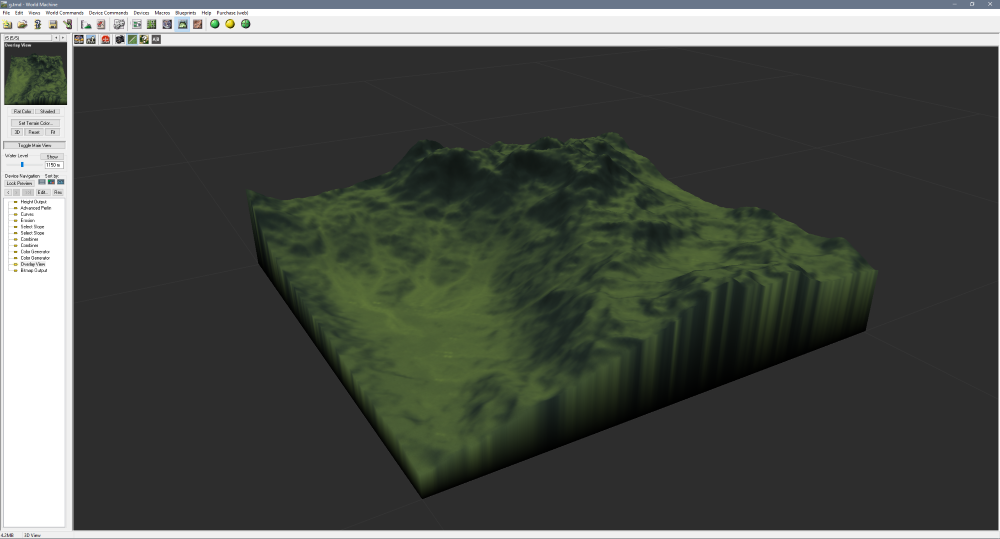
Preview render inside World Machine
The output of World Machine is a height map and a color map.
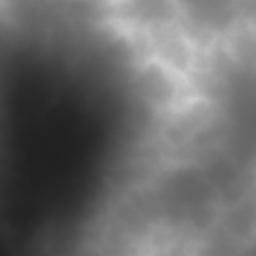
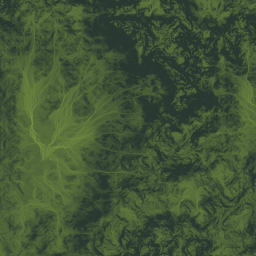
World Machine output
Baking point clouds
In order to get some light on the terrain I import the map in Octane, apply it to a plane using a displacement node and play with the lighting until I’m satisfied. To generate point information, I activate the Position render pass on the render target.
Since the source is a classic height map and doesn’t have any caves or overhangs, it would be possible to render it using an orthographic camera looking from above. Nevertheless, to make the process more robust and use the same method for other sources with more complex topologies, I usually render the scene using a Baking camera, this is a camera that follows the surface of the mesh perfectly, matching viewport positions to the mesh UVs.
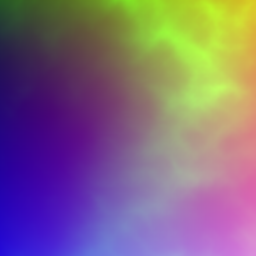
Position map (baked in Octane)
This workflow can be used to render any mesh to what I call a “point map”: by exporting the beauty pass to a PNG and the position pass to an untonnemapped EXR we now have XYZ + RGB information for 512x512 samples, essentially an alternative format for encoding a point cloud. In a few lines of code we can convert these two maps into a proper point cloud file (ex: .PLY) that could then be used as an input for further processing.
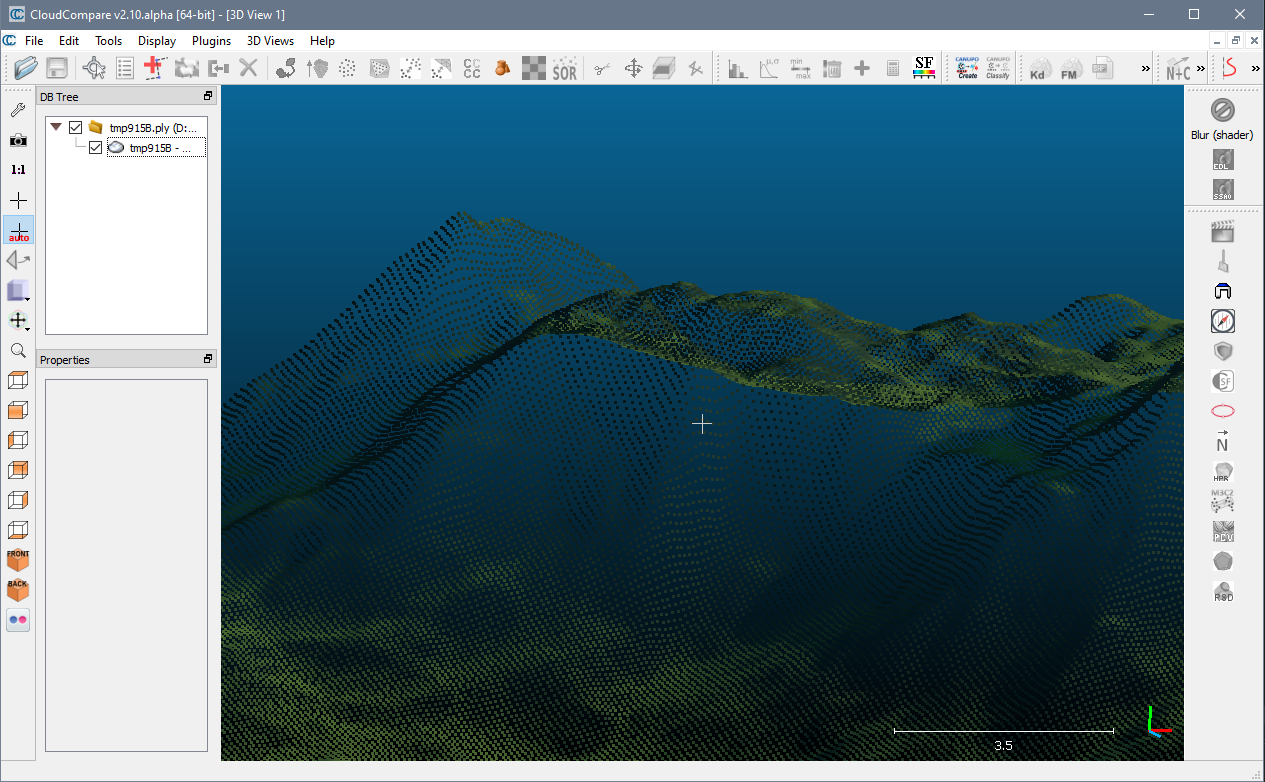
Point map imported in Cloud Compare
If the mesh doesn’t have UVs I use Blender to generate the UVs automatically. The density of the final point cloud is determined by the resolution of the baking render target, not by the number of triangles or anything else. I generally stick to 256x256 (65 536 points) or 512x512 (262 144 points). A nice property of this approach is that it is sampling the surface uniformly.
Results
Once baked to point clouds I can pass these assets to the existing code that converts point clouds to paint strokes for Quill. This lets me create varied painterly terrains that would be almost impossible otherwise without spending enormous amount of time.
The environment in this piece uses the terrain generated above
Handcrafted painting and animations
Painting in space is an utterly different activity than painting on a monitor using a graphics tablet. Contrary to many other VR applications, it’s not a VR-way of doing something we used to do through screens. In my opinion it’s one of the first truly VR-native activity, one that doesn’t have any counterpart either in the flat digital world or in the real world. In terms of skills, it is an art form that is as much different form painting than painting is from sculpting. And this isn’t even mentioning animation.
I feel this aspect is one of the reason it hasn’t exploded in popularity among artists yet. Existing artists do not necessarily want to become beginners again and invest the time to unlock this new medium. What will happen in my opinion is that a number of young people that haven’t picked their preferred art substrate yet, will decide to wear off their training wheels in VR, and develop their expertise there.
Here are some techniques I’m finding useful.
Drawing from the inside out
I’ve tested several approaches, painting directly in volumes, painting only the surfaces, distorting pre-made spheres and cubes… In the end I tend to paint things from the inside-out. For a creature for example, I will paint a quick “flesh” volume to block the pose, and then add outer surfaces for colors, textures, details, accessories, etc. This can be done in 2 shells for relatively simple objects, and for more complicated scenarios we can have an extra layer at the beginning, starting with a thin skeleton first and fleshing it later, and more complex aggregation at the surface.
Highlights and shadows are usually a point of difficulty. It can be easier conceptually to paint unshaded first and add lighting later, but then you will need to either paint light by aggregating more volume to the shape which may look weird or require nudging the paint strokes in, or by recolorizing the existing paint strokes, but that doesn’t always work depending on how the original strokes were laid out, considering that recolorizing only works across the length of the stroke. A paint stroke is a series of connected points which is inflated to a shape, and a given point can only have one color.
Animation
For animation so far I have only dabbled in the basics: wave pattern, walk cycles, etc. I use a simple workflow:
- Create the entire animation with a skeleton/template object. This includes the primary animation and secondary motion.
- Create the fully detailed object in a static pose.
- Animate the full object by pupeteering it into the animated skeleton. Cutting and pasting large chunks, distorting, reconnecting.
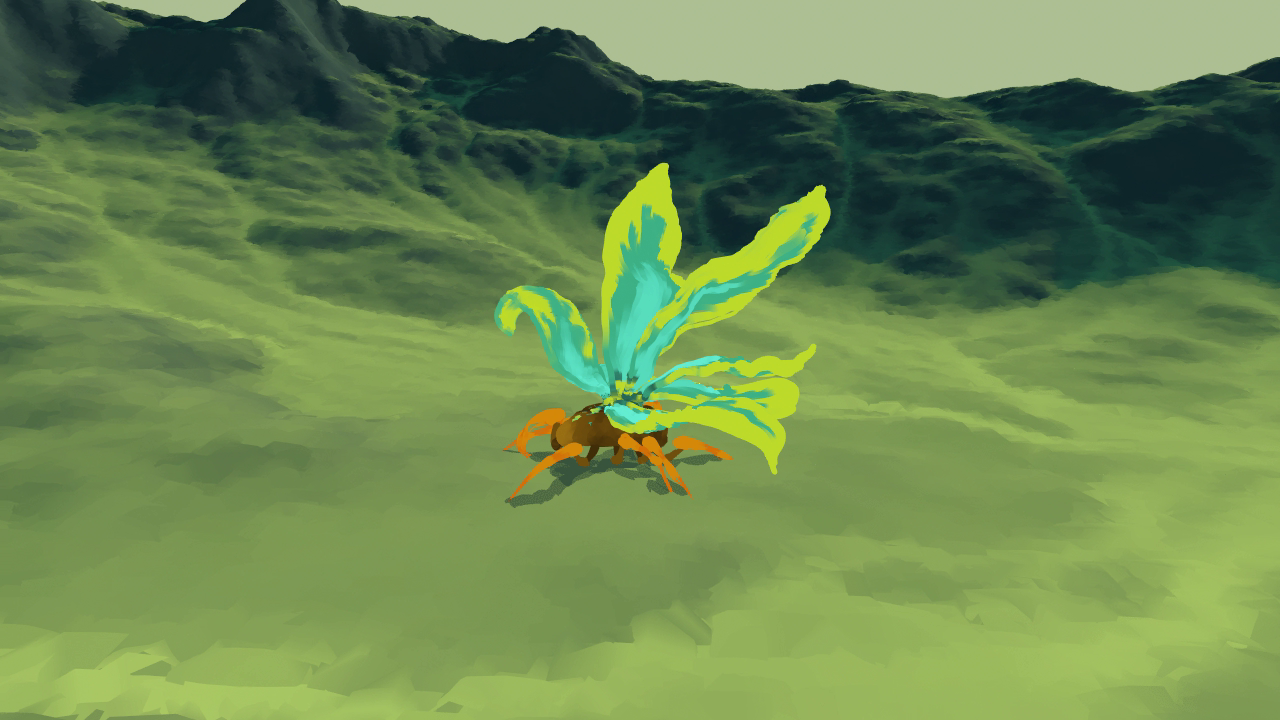
Wave tests
Animation rough: Body wave, 6-legged walk cycle, secondary motion for wings and antennaes. 8-frame loop.
Finished 16-frame walk cycle.
Software tooling
I am writing a piece of software to make things easier, faster, and to enable ideas I could simply not do manually.
⚠️ At the moment the software is not available publicly as it does not meet my standards for publication yet. The user interface is almost non-existent and extremely limited, I’m essentially editing the code and making adjustments every time I use it, it’s just easier this way at this point.
General architecture and workflow
The program is split into an I/O library that reads and writes Quill files, and higher level mechanisms for importing assets, converting them into Quill layers in memory, and generating a new Quill scene out of these layers. At the moment it is still based on Quill 1.8 file format, but the files seems to be somewhat forward compatible with Quill 2.0.
Layer generators vs Scene tree
The assets importer modules are not necessarily based on the type of input file they work with, but rather on the kind of transformation they perform when they turn the asset into a Quill layer. Each importer is driven by a parameter list containing the path to the external resources and the way to transform them into paint strokes. Some importers generate a single Quill paint layer, others generate a layer group with several sub-layers inside.
A new scene tree is constructed from scratch and the generated layers are individually plugged into it at arbitrary points. This allows to think separately about the list of “conversion commands” on one hand and arranging the final scene layer tree on the other.
Mock user interface of how the the program could end up looking like. At the moment this is all hand coded.
Workflow
There is no in-place modification of existing Quill projects. For backup/archival purposes I prefer to create a new file every time. There is however a passthrough generator that simply imports an existing Quill file and exposes its existing layers. The typical workflow is thus the following:
- Generate a standardized “empty scene” tree.
- Create a list of importers and attach their results at various points in the scene tree.
- Output the scene to a full Quill project.
- In Quill, adjust the generated layers manually.
- In Quill, add new paint layers and create the rest of the scene normally, drawing and animating manually.
Then when changes are needed that involves re-generating layers from external resources:
- Create a new default scene tree.
- Extract/Import relevant manually painted and automatically generated layers from the current state of the project.
- Add new importers.
- Setup the new scene tree, mixing the existing layers with newly generated ones.
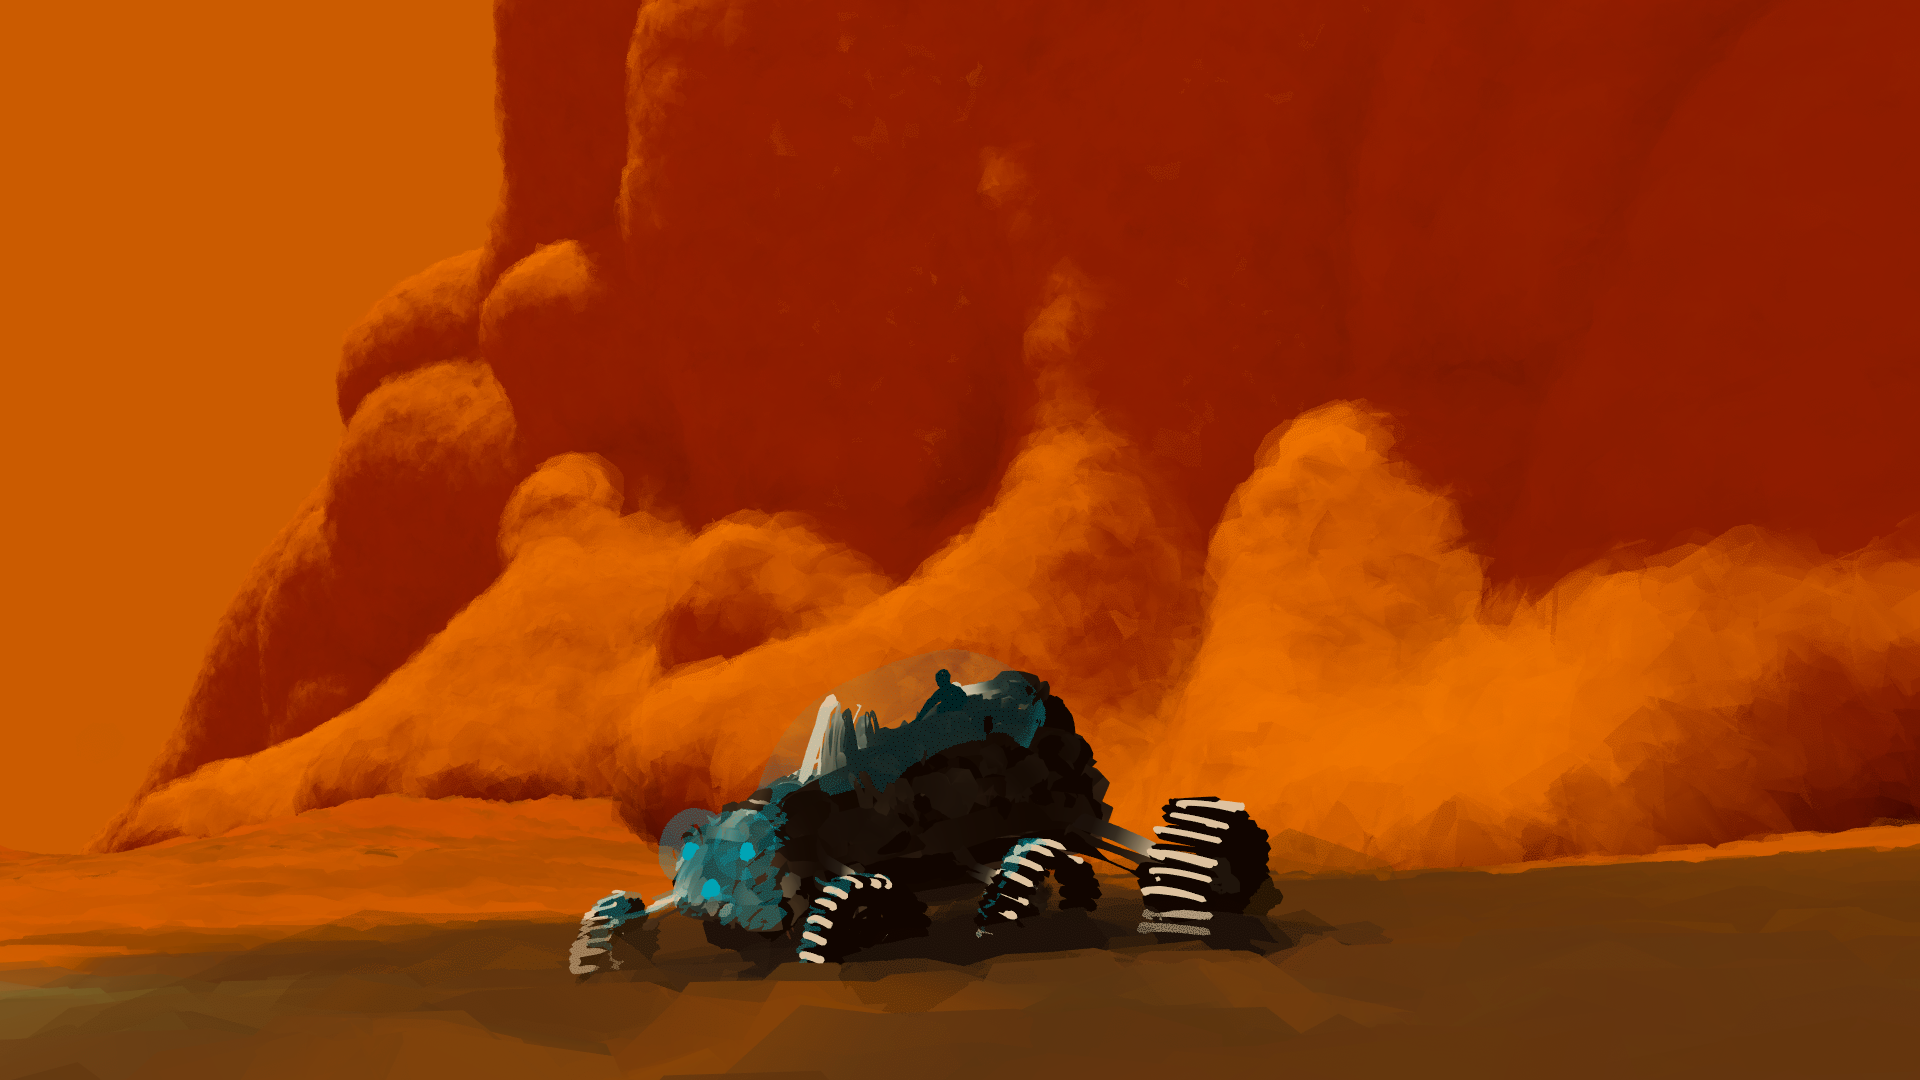
Mars storm. Scenes are usually built in multiple roundtrips.
I’m very averse to data loss and I’m feeling more confident with this approach of making full scenes immutable and forcing the generation of a new scene from existing content every time. Another way would be to use the import function inside Quill but I have had issues with it in the past when my program was outputting files in an older format than the then-current Quill version was expecting. Full scene import seems to always work. Kudos to the Quill team by the way, the newest Quill version can still read the original files created years ago 👍.
In the following paragraphs I’ll describe some of the modules I implemented.
Palettes
This module imports an Adobe Swatch Exchange (.ase) palette file, or an explicit list of hex colors. Color groups in .ase files are converted to their own paint layers. Color entries are then converted to simple paint strokes looking like small cubes, and can be easily sampled during painting.
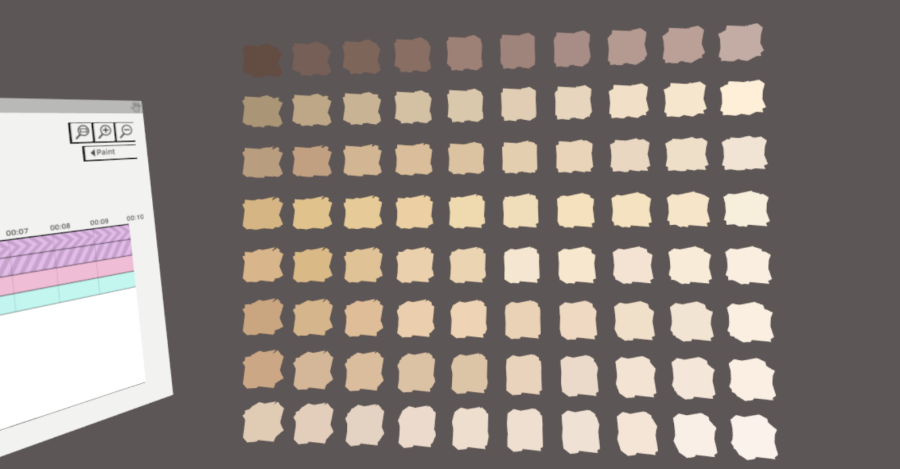
Test palette file containing various skin tones imported in Quill as small samplable cubes.
Wireframes
I mostly use this for characters. I pose the characters in Daz 3D, export them to .obj, and import back the mesh using the Assimp library. Each polygon is visited and each edge not already known is converted into a simple paint stroke going from one vertex to the other. This “shell” is very useful to paint volumes from inside out and quickly get accurate proportions. I discard any kind of texture information as I’m only interested in the pose and will paint flesh, skin, clothes and accessories manually.
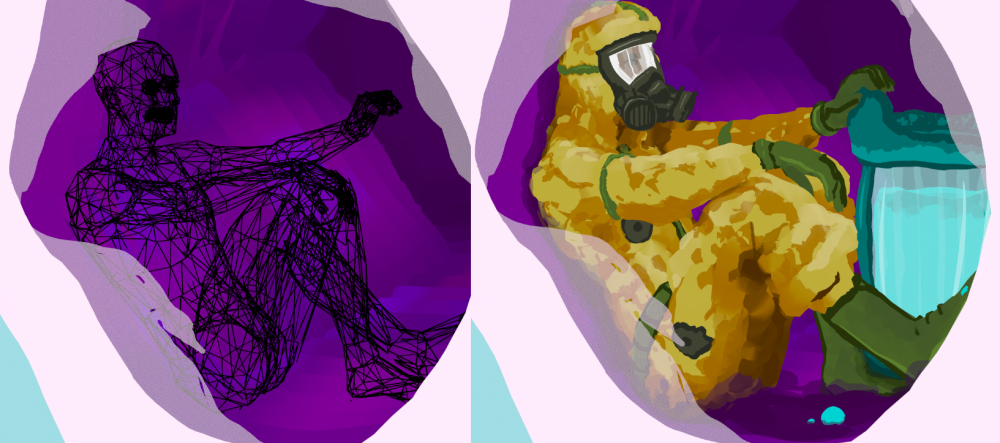
Using a wireframe for character pose guide.
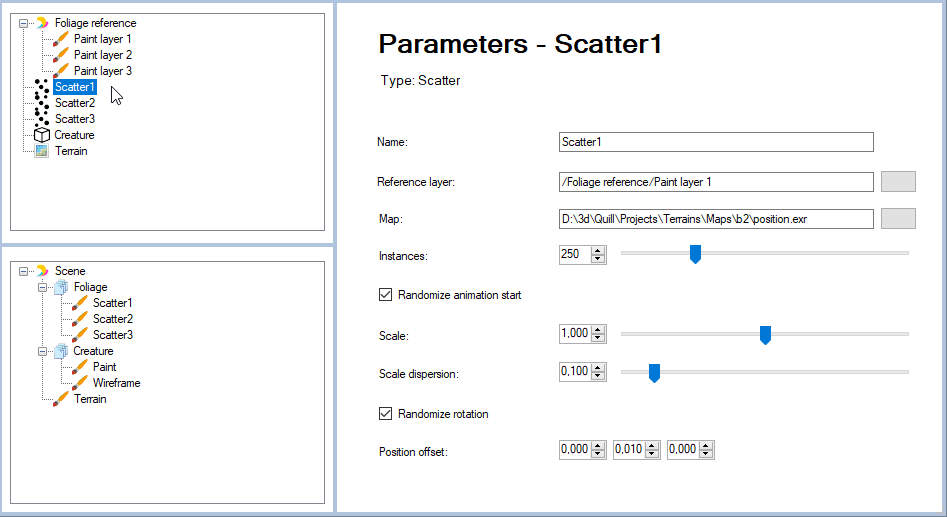
Scattering on a plane
This module takes an existing paint layer as a reference, and a height map. The reference layer contains an object to be duplicated. Instances of this object are randomly scattered on a plane, taking the heightmap into account so they don’t end up underground. If the reference layer is animated the animation is copied as well, and the start of the animation can be randomly offset. This is useful to create vegetation and diverse fields of things.

Mechanical migration
Trajectory
This module takes a reference layer, typically an animated drawing, and duplicates it along a trajectory. The trajectory is defined by another reference layer containing a single animated stroke. Both layers must have the same framerate.
This tool is less useful since Quill 2.0 introduced an advanced timeline that allows us to duplicate an entire animated drawing, extending its frames and properly looping over the animation. So this module is essentially working around a specific limitation that no longer exist. The remaining advantage is the ability to organically draw the trajectory by hand.
Stroke-driven duplication
This is another importer module that takes a layer to be duplicated, and a layer to drive the duplication. This time, instead of random scattering, individual strokes from the second layer are used to determine the position, orientation and scale of the instances. Animation in the original layer is also duplicated and can be offset. The benefits turned out to be limited the few times I tried this and I ended up tweaking each instance manually anyway.
What didn’t work
For a bee hive like environment, I tested an importer taking an input layer and duplicating it on an hexagonal tiling of the 2D plane. The particulars of VR drawing made this more challenging than I anticipated. The original drawing has to be designed to be tileable in the first place, the position of the strokes at the periphery have to be extremely precise. This doesn’t lend well to hand drawing. For this particular project I ended up duplicating the tiles manually.
Next
Content
In terms of animation I want to improve my skills in frame by frame motion cycles of humans and creatures. This nicely ties in with my other interests in biomechanics and motion analysis with Kinovea.
It should also be possible to convert motion-capture data (e.g: .bvh files) into animated paint strokes, although at the moment I prefer the imperfections of hand crafted animation for stylistic purposes. It could be useful as guides or educational material though.
I’m still looking for an algorithmic solution to create hard surfaces for indoor and urban sceneries. I’ve tried some approaches but nothing really satisfying so far.
Photography
The current bottleneck in terms of artistic expression is, in my opinion, the camera. When we want to render the scene into a flat representation we are constrained. The capture camera in Quill is a simple pinhole model (no depth of field), is hand-held (requires contraptions in the real world), and it has limited manual controls.
I wish to capture virtual worlds with at least the same freedom we have capturing the real world, and ideally in a way that is closer to how a cinematographer can design their camera work, with precise travelings, focus pulling, specific lenses, etc. My next efforts are thus likely going to be related to capturing VR paintings with better virtual cameras.
At Otoy I’m writing the “Universal camera” for Octane, an alternative camera system to the original, built-in one, and I would love to use a similarly capable stack to capture VR paintings.
Community
I post these VR-based pieces on Instagram @jobigoud and sometimes on Artstation and Youtube.
If you are interested in VR painting and animation there is a nice little community of pioneers on Instagram, regularly posting inspiring stuff. Check out the following artists: Stefano Bagnoli, Felix Stief, Nick Ladd, Sam Luck, Sanjay Jit, Matt Schaefer, Daniel Martin Peixe, Goro Fujita, Giant Swan, Gianpaolo Gonzalez .